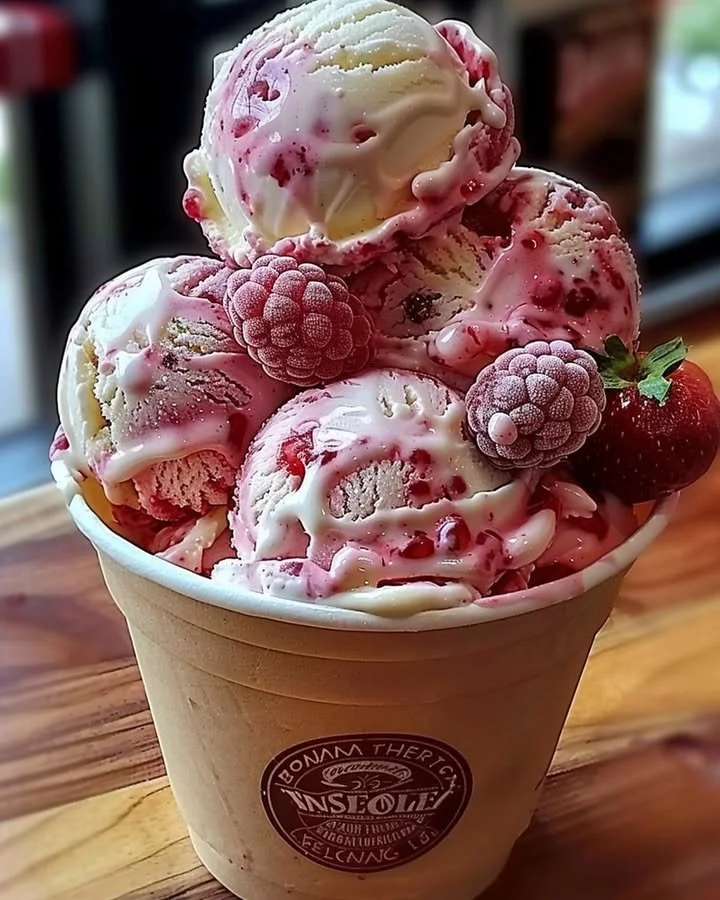
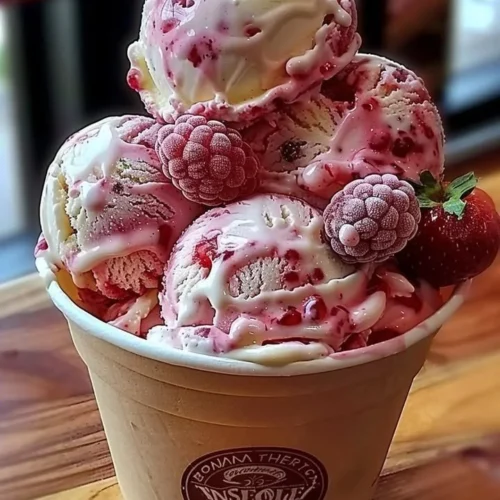
Strawberry Vanilla Bean Ice Cream
Indulge in the delightful experience of creating your very own Strawberry Vanilla Bean Ice Cream, a refreshing treat that captures the essence of summer in every creamy bite. This recipe invites you to embark on a step-by-step journey of mixing luscious ingredients, concocting an ice cream base that’s silky smooth and infused with the aromatic depth of real vanilla beans. Imagine the glorious aroma wafting through your kitchen as strawberries blend with a touch of sweetness, sparking nostalgia and joyful anticipation for the first scoop. Gather your loved ones, and prepare to fill your home with laughter, love, and the irresistible allure of homemade ice cream.
History / Fun Fact
The story of ice cream traces its roots back thousands of years, with ancient civilizations enjoying flavored ices made from snow and milk. However, the delightful combination of strawberries and creamy vanilla has a more recent origin. Strawberries, once considered a rare delicacy, became widely popular in the 18th century, loved for their vibrant color and sweet flavor. Vanilla, brought to Europe from Mexico, has long been a beloved companion to strawberries, creating a perfect marriage of flavors in desserts. Today, Strawberry Vanilla Bean Ice Cream echoes this rich history, merging nostalgia with modern enjoyment—a classic frozen treat that’s cherished in homes across the globe.
Ingredients
To craft this luscious Strawberry Vanilla Bean Ice Cream, you will need:
- 2 cups of heavy cream, rich and velvety
- 1 cup of whole milk, creamy and fulfilling
- 3/4 cup of granulated sugar, sweet and crystalline
- 1 vanilla bean, aromatic and floral (or 1 tbsp pure vanilla extract)
- 1/2 tsp of salt, enhancing the sweetness
- 1 1/2 cups of fresh strawberries, hulled and chopped, vibrant and juicy
- 1/4 cup of granulated sugar for strawberries, adding sweetness
- 1 tbsp of lemon juice, brightening flavors
Gather these fresh ingredients and experience the harmony of flavors as you transform them into a treat that is sure to create sweet moments with family and friends.
Cooking Time & Tips For Strawberry Vanilla Bean Ice Cream
When it comes to making ice cream, timing is everything. A quick preparation allows the creams and flavors to meld briefly, resulting in a lighter taste. In contrast, a slow approach, by allowing your base to chill overnight, enhances the creaminess and deepens the flavors. For the best results, consider chilling your ice cream mixture thoroughly—this step not only enriches the flavor but also ensures a velvety texture once churned. Additionally, taste as you go! That’s part of the adventure. And always remember to keep your ice cream maker’s bowl frozen in advance for optimum results.
Step-by-Step Directions
Start by warming your kitchen with the aroma of what’s to come. In a saucepan, combine the heavy cream, whole milk, granulated sugar, and salt. With care, cut the vanilla bean lengthwise to reveal the tiny seeds within. Scrape them out, adding this fragrant treasure along with the whole vanilla pod into your mixture. Cook over medium heat, stirring lovingly until the sugar dissolves and the mixture warms—but resist the urge to boil!
Once the sugar has melted into a harmonious blend, remove your pan from the heat and let the vanilla pod steep for around 10 minutes. If you opt for vanilla extract, now is the perfect time to mix it in, enhancing the aromatic layers of your ice cream base.
Remove the vanilla pod with care and allow your mixture to cool down. Now, it’s time for the refrigerator! Let it chill for at least four hours or even overnight—patience will be rewarded.
As you wait, let’s prepare the strawberries! In a nifty blender or food processor, combine your fresh strawberries, sugar, and a splash of lemon juice. Blend until smooth or slightly chunky, depending on how you like your strawberry swirls.
Pour your beautiful strawberry mixture into a bowl, using your senses to feel the cool texture and capture the sweet aroma of summertime strawberries.
Now that your ice cream base has chilled beautifully, pour it into your ice cream maker and churn according to the manufacturer’s instructions. This is where the magic begins: watch as your base transforms into a creamy, dreamy concoction.
Once churned, carefully transfer half of the ice cream to a container. Spoon a layer of your luscious strawberry mixture on top, allowing the vibrant pink to dance with the creamy white. Add the remaining ice cream on top, and using a knife or spoon, gently swirl the strawberry mixture throughout your ice cream, creating a playful marbled effect.
Cover your container and freeze the ice cream for at least four hours or until it sets fully. When you’re ready to enjoy this delectable treat, scoop out a generous portion and savor the burst of flavors.
Serving Suggestions & Occasions
Strawberry Vanilla Bean Ice Cream is perfect for almost any occasion, whether it’s a sunny day in the backyard or a festive celebration with friends and family. Serve it with a sprig of fresh mint on top for a pop of color, or layer it between delicate chocolate wafers for a delightful sandwich. Pair it with a slice of berry tart or enjoy it simply on its own as a comforting dessert. This homemade indulgence is bound to charm everyone, creating unforgettable moments with each scoop.
Common Mistakes For Strawberry Vanilla Bean Ice Cream
Avoiding common pitfalls when making ice cream can make all the difference in achieving the perfect consistency and flavor. First, ensure that your ice cream maker bowl is thoroughly frozen before pouring in the mixture; otherwise, it won’t churn effectively. Don’t rush the chilling process of your ice cream base—this step is essential for developing creamy texture and intense flavors. Lastly, be careful not to over-churn; while it may be tempting to keep it going, over-churning can lead to a grainy result instead of the silky smoothness you desire.
Healthier Alternatives & Variations
For those looking to lighten up the dessert a bit, consider substituting whole milk for almond or oat milk, and the heavy cream with coconut cream for a dairy-free option that still delivers on richness. You can also use natural sweeteners like honey or maple syrup in place of granulated sugar. For a fun twist, experiment with different fruits, such as blueberries or raspberries, to create your own unique ice cream flavors. You can even add a swirl of chocolate sauce or incorporate a few crushed nuts for added texture and depth.
FAQs
Can I use frozen strawberries instead of fresh ones?
Yes, you can! Just be sure to thaw and drain them before blending.How long will the ice cream last in the freezer?
Homemade ice cream is best enjoyed within a couple of weeks, but it can be stored for up to a month.Can I churn the ice cream without an ice cream maker?
Absolutely! Pour the mixture into a shallow dish and freeze; stir it every 30 minutes until fully set.What if I don’t have vanilla beans?
Pure vanilla extract is a great substitute; use one tablespoon to achieve a lovely flavor.Can I add mix-ins like chocolate chips or nuts?
Definitely! Fold in mix-ins just before the final churn for added texture and flavor.How do I soften the ice cream for serving?
Let it sit at room temperature for about 10-15 minutes before scooping for the perfect consistency.
Conclusion
This Strawberry Vanilla Bean Ice Cream is not just a treat; it’s an experience—a joyful creation you can share with family and friends. Its fragrant aroma and creamy sweetness will transport you to a sunny afternoon, filled with laughter and love. So, roll up your sleeves, grab your freshest strawberries, and dive into this delectable adventure that promises to tantalize your taste buds. Don’t wait too long—your homemade ice cream masterpiece awaits!
Strawberry Vanilla Bean Ice Cream
Ingredients
Ice Cream Base
- 2 cups heavy cream rich and velvety
- 1 cup whole milk creamy and fulfilling
- 3/4 cup granulated sugar sweet and crystalline
- 1 bean vanilla bean aromatic and floral (or 1 tbsp pure vanilla extract)
- 1/2 tsp salt enhancing the sweetness
Strawberry Mixture
- 1 1/2 cups fresh strawberries hulled and chopped, vibrant and juicy
- 1/4 cup granulated sugar for strawberries adding sweetness
- 1 tbsp lemon juice brightening flavors
Instructions
Preparation of Ice Cream Base
- In a saucepan, combine heavy cream, whole milk, granulated sugar, and salt.
- Cut the vanilla bean lengthwise, scrape the seeds into the mixture, and add the whole pod.
- Cook over medium heat, stirring until sugar dissolves; do not boil.
- Remove from heat and let steep for about 10 minutes.
- If using vanilla extract, mix it in now.
- Remove the vanilla pod and cool the mixture.
- Chill in the refrigerator for at least 4 hours or overnight.
Preparation of Strawberry Mixture
- Blend fresh strawberries, sugar, and lemon juice until smooth or slightly chunky.
- Pour strawberry mixture into a bowl.
Churning the Ice Cream
- Pour chilled ice cream base into an ice cream maker and churn as directed.
- Once churned, transfer half to a container, layer with strawberry mixture, and top with remaining ice cream.
- Gently swirl the strawberry mixture into the ice cream.
- Cover and freeze for at least 4 hours until set.